Repairing IKEA DUKTIG play kitchen
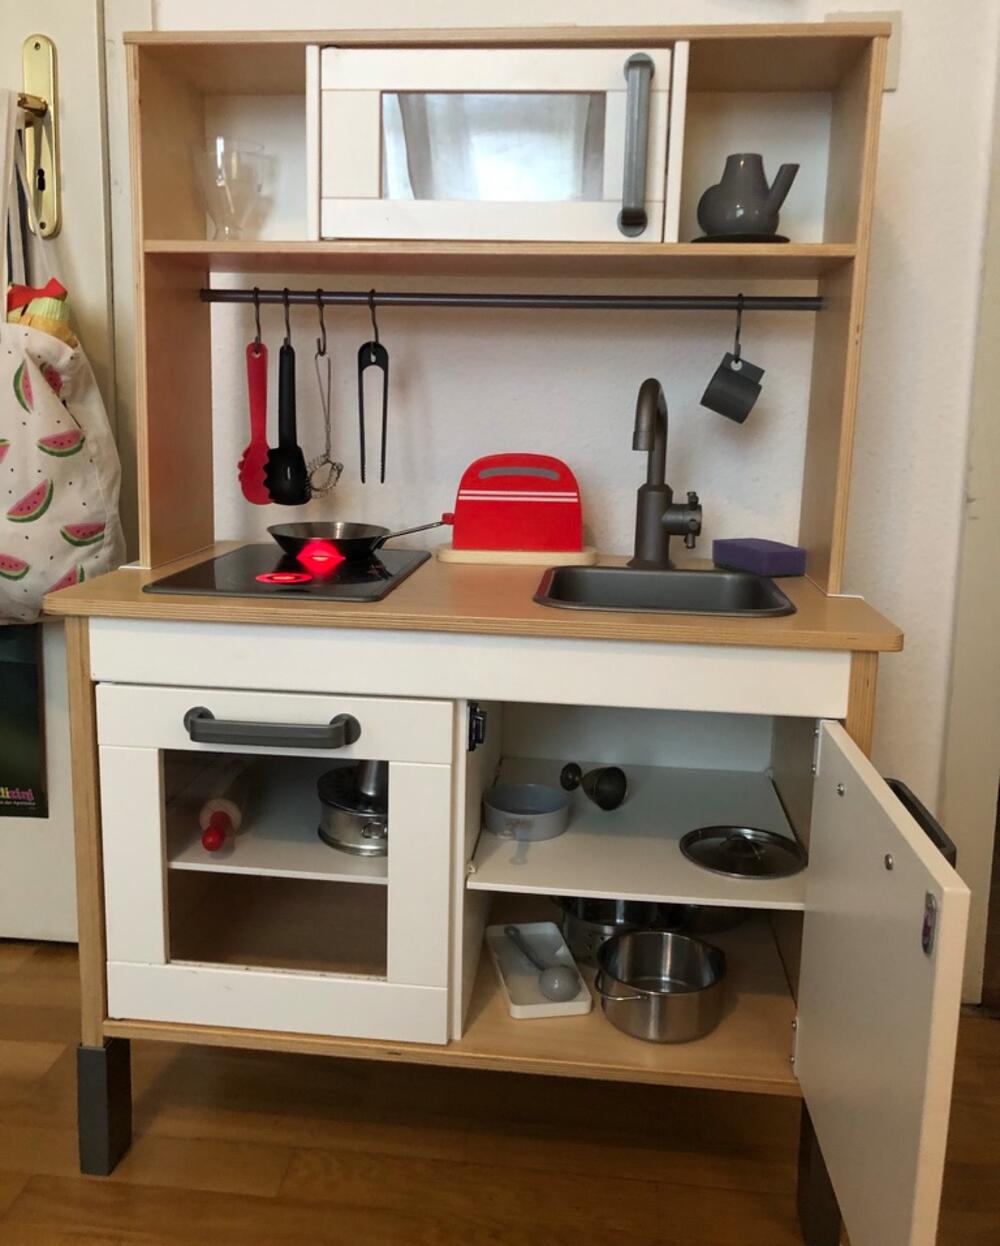
Today my wife bought a used IKEA DUKTIG play kitchen for our children. We payed about 35 € for the kitchen with several accessories like pans, pots, cooking spoon etc. The highlight of the kitchen is the cooktop which can be turned on and off to glow red which look like a real cooktop.
After putting in six (!!1) AA batteries I pushed the buttons and… nothing happened. Damn. The cooktop was broken. My daughter (2.5 years) supervised every step. She pressed the buttons like 20 times before she looked in my eyes and asked: “Putt”? (German children’s language for broke). Her voice was deeply saddened. I smiled and responded that she should not worry and that I am certain we can repair it. She immediately started smiling and responded with: “Pieren?” (German children’s language for repair).
Here is my short write up on repairing the IKEA DUKTIG cooktop.
Two buttons and some LEDs
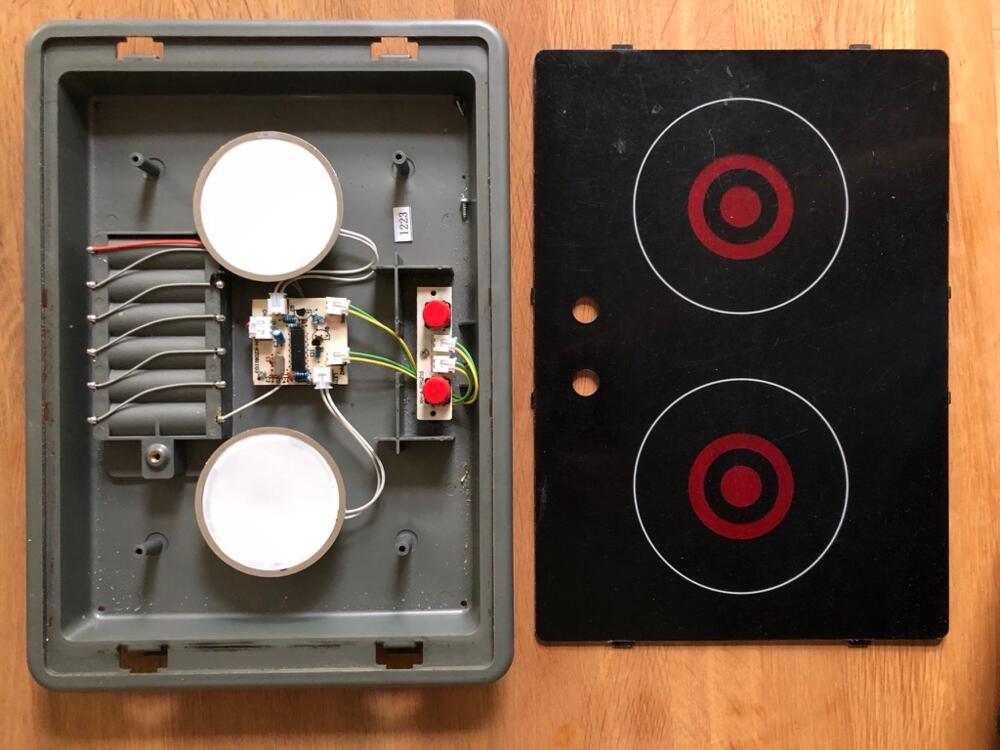
How hard can it be to repair such electronics with an engineering degree, I thought? So, I starting dismantling the cooktop.
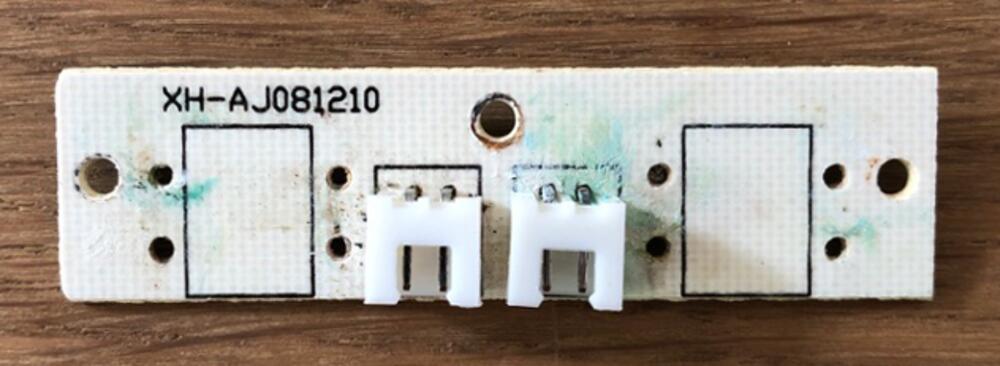
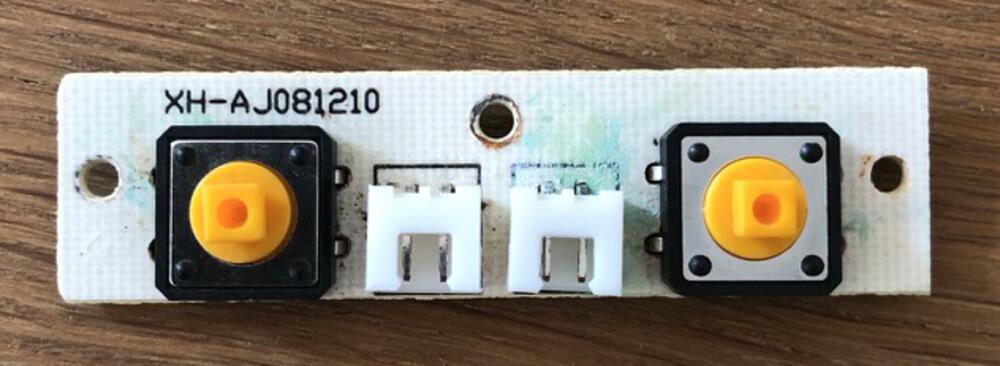
It consists of two PCBs and two LEDs covered with a white membrane. What you can also see is a lot of dirt. But what would you expect from cooktop which was used for more than 5 years? A real cooktop would certainly look worse. ;-)
 |
 |
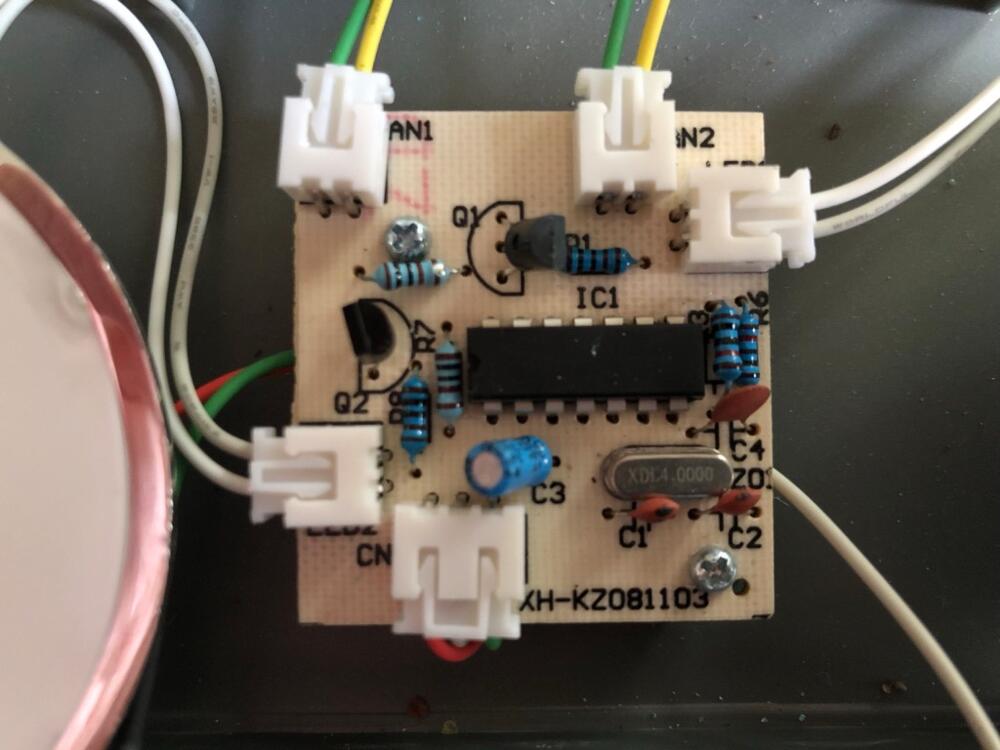
I started inspecting the PCBs and noticed some oxide on the one with the buttons. I unplugged the wires and used the screw driver to shorten the contacts. The cooktop turned on immediate.
The Fix
I started to google if I can get a replacement PCB with the buttons and it turns out there is a company, selling those as replacement boards for 15 $ on amazon. I thought wow. Perfect exactly what I am looking for. Bit expensive but I really appreciate the work and the project itself which will make a lot of children happy again. But the shipping costs of 8 $ and 3-4 weeks lead time stopped me from ordering it.
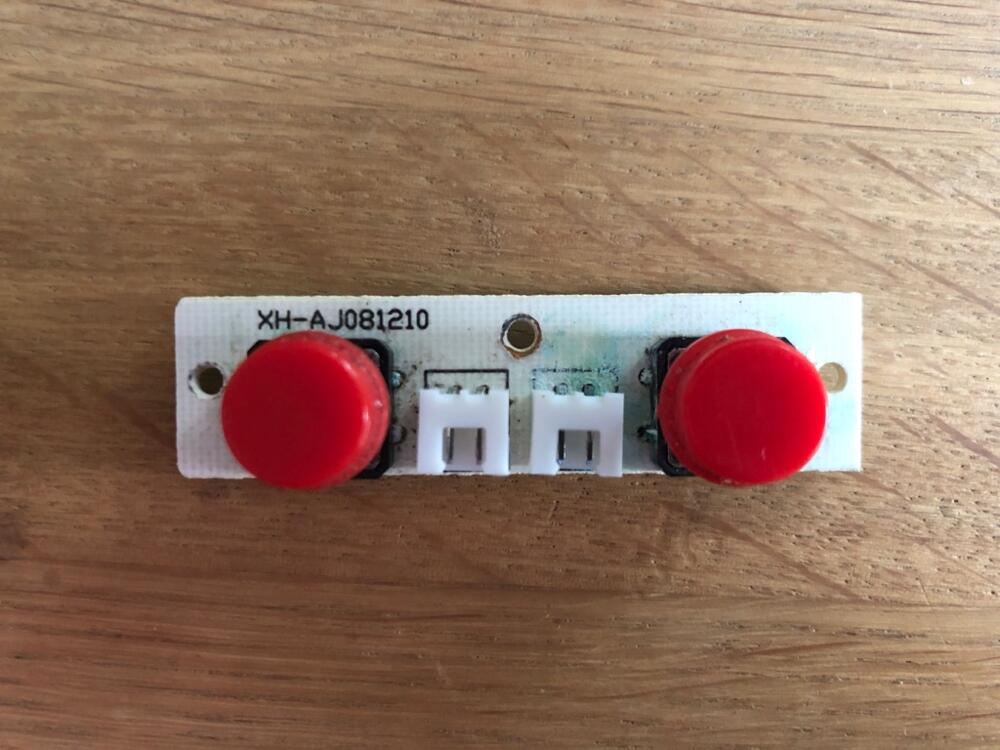
Instead, I decided to just buy two of the switches and replace the old with a soldering iron. With a caliper I measured the buttons 12x12 mm and height of 7.3 mm.
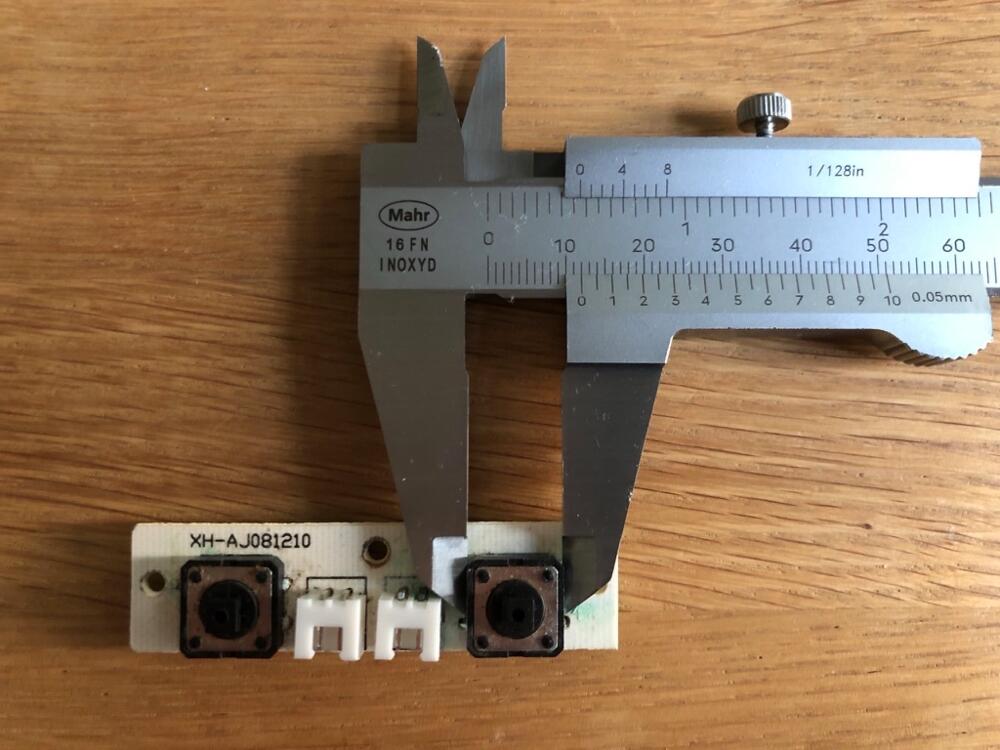
A short google search brought up WE electronics a german electronics company with the part WS-TATV THT washable and ordercode 430456073736. The datasheet showed that the contacts will perfectly fit in the old PCB. I ordered two of them at conrad.de for 2 € and picked them up in the store in Bonn in the next days. (Update: As Benjamin pointed out the WE switch is not available anymore. The switch TRU COMPONENTS YST-1103T works as well.)
Assembly
The “hardest” part repairing the cooktop turns out to be the removal of the old switches. I used a soldering iron and a vacuum plunger to remove the solder. This is something I am not doing very often and my hands have been a little bit shaky but I managed it. After soldering the new switches I assembled everything again.
 |
 |
On the next day my daughter pressed the buttons and the cooktop started glowing red. Her eyes lit and she started smiling. It took me about 4 hours in total (most of the time was writing this post) but to see her smile in that moment would be worth 100 hours!
And here is the result with the glowing cooktop.